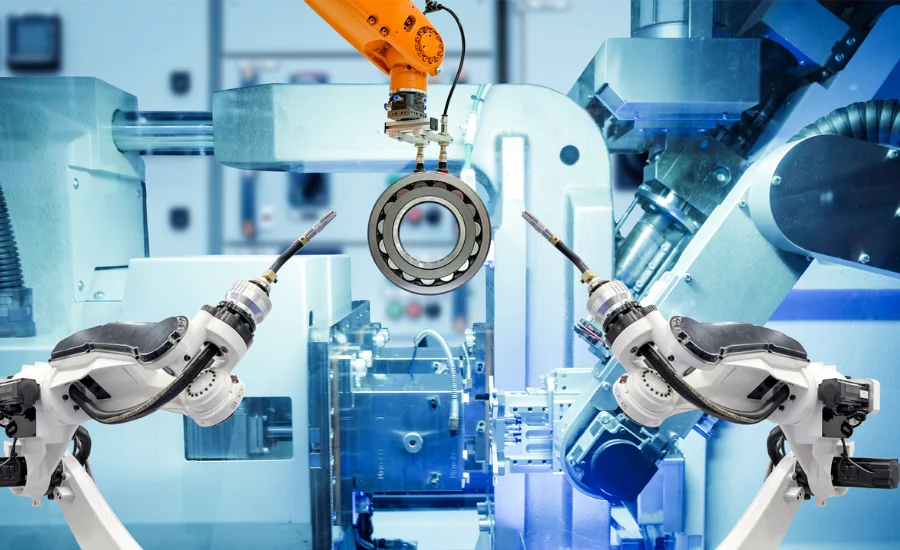
The 2000-1817.45 component plays a crucial role in the functionality of various machines and systems. Over time, this essential part may deteriorate due to regular use or may need upgrading to enhance overall performance. To ensure optimal operation and efficiency, regular maintenance and timely replacement of the 2000-1817.45 are vital.
This detailed guide aims to empower readers with the knowledge necessary for the effective replacement of the 2000-1817.45 component. It delves into the component’s role, outlines preparation steps, explains removal techniques, and provides clear installation instructions. Additionally, it emphasizes the importance of post-installation inspections to confirm everything is functioning correctly. By following these guidelines, users can approach the replacement process with confidence, ultimately extending the lifespan and enhancing the performance of their equipment.
Understanding the Importance of the 2000-1817.45 Component
The 2000-1817.45 component is essential for the optimal operation of various systems and machinery across multiple industries. Known for its robustness and reliability, this part is crucial for ensuring that equipment runs smoothly.
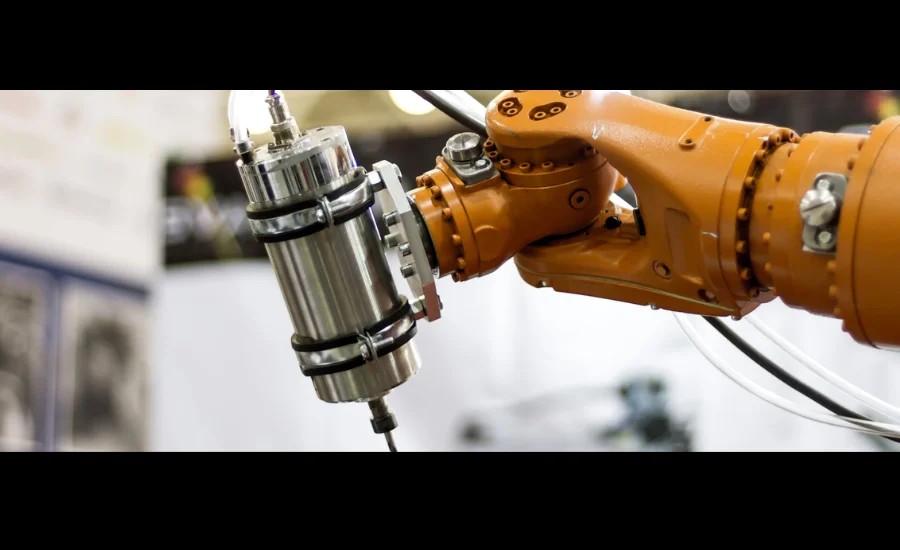
This component significantly influences the performance of the machinery in which it is integrated. Engineered to endure high levels of stress and pressure, the 2000-1817.45 is particularly suited for challenging operational environments. While its specific role may differ depending on the application, it consistently contributes to the efficiency and seamless functioning of the equipment, underscoring its importance in maintaining operational excellence.
Identifying and Addressing Issues with the 2000-1817.45 Component
Like all mechanical components, the 2000-1817.45 is susceptible to wear and various operational issues over time. Recognizing early signs of wear or potential malfunctions is essential for effective maintenance and timely replacement.
Common problems associated with the 2000-1817.45 can include leaks, particularly around seals and gaskets, which can lead to significant performance issues. Users may notice a decline in equipment efficiency or output, signaling a need for closer inspection. Unusual sounds such as grinding or squealing during operation may also indicate wear or damage to the component.
In addition, excessive vibration may suggest that the 2000-1817.45 is not functioning properly or may have loosened. Regular visual inspections can reveal signs of deterioration, including cracks, corrosion, or deformation, which should not be overlooked.
Conducting routine maintenance checks is vital to catch these issues early, preventing more extensive damage to the machinery. It is advisable to adhere to the manufacturer’s recommended maintenance intervals and replacement timelines to ensure the continued performance and durability of the 2000-1817.45.
By familiarizing themselves with the common issues and available replacement options for the 2000-1817.45, users can make informed decisions that enhance the longevity and efficiency of their equipment.
Choosing Between OEM and Aftermarket Parts for the 2000-1817.45
When it comes to replacing the 2000-1817.45 component, users typically face a choice between Original Equipment Manufacturer (OEM) parts and aftermarket alternatives. Both options have their unique benefits and considerations.
OEM parts are produced by the original manufacturer of the equipment, crafted to match the precise specifications of the original component. While these parts often come with a higher cost, they guarantee reliability and a perfect fit. OEM components are especially recommended for critical functions and safety-related applications, ensuring optimal performance and compatibility within the existing system.
In contrast, aftermarket parts are made by third-party manufacturers and can provide cost advantages and broader availability. While some aftermarket components may rival or even surpass the quality of OEM parts, others might not meet the same performance standards. Therefore, it’s crucial to conduct thorough research and select reputable manufacturers when opting for aftermarket alternatives.
The decision between OEM and aftermarket parts generally hinges on factors such as budget constraints, warranty implications, and the specific needs of the equipment. Additionally, it’s important to review warranty terms, as using certain aftermarket parts could potentially void existing warranties.
Preparing for the Replacement of the 2000-1817.45 Component
Before initiating the replacement of the 2000-1817.45 component, it’s essential to prepare adequately to facilitate a smooth and safe process. This preparation involves gathering the right tools and materials, observing safety precautions, and determining how to access the component effectively.
To successfully replace the 2000-1817.45, you will need a variety of tools and materials. Essential items include side cutting and lineman’s pliers, a comprehensive set of drill bits, a drill, and a rubber mallet. Needle nose pliers and cleaning materials such as rags or wipes are also important to maintain a tidy workspace. Lastly, ensure you have the replacement 2000-1817.45 component on hand.
Depending on the specific application and installation environment, you may require additional tools. For example, if the component is part of a step pad system, replacement pads typically come in pairs, accompanied by the necessary pins for installation.
Prioritizing Safety When Replacing the 2000-1817.45 Component
Safety should always be paramount when handling mechanical components. To ensure a secure working environment, consider the following essential safety measures.
First, always wear appropriate personal protective equipment (PPE), such as safety glasses and gloves, to safeguard against potential injuries. Before beginning the replacement process, verify that the equipment is powered off and disconnected from any energy sources to prevent accidental activation.
Additionally, working in a well-ventilated area is crucial, particularly if you are dealing with any substances that may pose health risks. Exercise caution when using sharp tools or handling components with edges to avoid cuts or other injuries. Finally, be sure to adhere to the manufacturer’s guidelines for safely handling the 2000-1817.45 component, as these instructions are designed to protect both you and the equipment.
Accessing the 2000-1817.45 Component: Steps for Success
Gaining access to the 2000-1817.45 component can vary based on its specific location within the equipment. However, there are some general steps you can follow to facilitate the process.
First, identify where the 2000-1817.45 component is situated within the system. Once located, remove any covers or panels that may obstruct access. Carefully inspect the surrounding area for any connected parts or wiring that may need to be detached to proceed with the replacement.
If the component is secured with fasteners, utilize the appropriate tools to remove them gently. In instances where pins or clips hold the component in place, needle nose pliers can be useful for gripping and extracting easily accessible pins. For pins that are stubborn, using a drill might be necessary. Start with a smaller drill bit to create a pilot hole without damaging the surrounding material, gradually increasing the size if needed while being cautious not to enlarge the hole excessively.
It’s also worth noting that components like the 2000-1817.45, especially in step pad applications, can accumulate water over time. To address this, consider drilling small drainage holes to help mitigate potential issues.
Before you proceed with removal, take the time to clean the area around the 2000-1817.45. This will help prevent debris from contaminating the system during the replacement process. While thorough cleaning is beneficial, achieving perfection is not necessary, particularly for components such as step bars.
By following these preparatory steps, you will be well-prepared for the replacement of the 2000-1817.45 component. The next section will provide a detailed guide on the step-by-step removal process to ensure a successful operation.
Removing the Mounting Hardware for the 2000-1817.45 Component
Once you have safely disconnected the electrical connections, the next step is to remove the mounting hardware that secures the 2000-1817.45 component. This typically involves taking out bolts, nuts, or other fasteners that hold the component in place.
Before proceeding, it’s wise to clean the area surrounding the mounting hardware. This helps prevent any debris from falling into the system during the removal process. Using a suitable cleaning solution and a lint-free cloth, wipe down the area to ensure a clean workspace.
Next, identify the type and size of the fasteners used to secure the 2000-1817.45. Depending on the specific hardware, you may need common tools such as socket wrenches, Allen keys, or Torx drivers. Using the correct tool size is essential to avoid stripping or damaging the fasteners, which can complicate the removal process.
As you remove the mounting hardware, take care to keep track of the order and location of each fastener. This will greatly assist during reassembly, ensuring that the new component is aligned correctly and installed securely.
Safely Disconnecting Electrical Connections for the 2000-1817.45
Before starting the removal process for the 2000-1817.45 component, it is essential to disconnect all associated electrical connections. This crucial step not only ensures your safety but also protects the component and surrounding system from potential damage.
Begin by identifying all electrical connections tied to the 2000-1817.45, including wiring harnesses, connectors, and individual wires. Pay close attention to the connection points and their configurations, as this information will be vital for reassembling everything correctly later.
When disconnecting these electrical connections, utilize appropriate tools like needle-nose pliers or specialized connector removal tools. Gently grasp the connector and pull it straight out, avoiding any twisting or bending motions that could compromise the pins or sockets.
For connectors equipped with locking mechanisms, be sure to release the lock carefully before attempting to remove the connector. Some connectors may have tabs that need to be pressed or levers that must be lifted to disengage the locking mechanism properly.
Extracting the 2000-1817.45 Component Safely
With the electrical connections disconnected and the mounting hardware removed, the next step is to carefully extract the old 2000-1817.45 component from its position. This process requires attention to detail to prevent any damage to surrounding components or the mounting surface.
Before you begin the extraction, take a moment to inspect the area for any lingering connections or obstructions that might impede the removal. In some situations, it may be necessary to temporarily reposition additional components or brackets to gain better access to the 2000-1817.45.
Gently wiggle the component to loosen it from its mounting. If you encounter resistance due to corrosion or debris buildup, applying a penetrating oil can help ease the removal. Allow the oil to sit for a few minutes to penetrate before attempting to remove the component again.
As you pull out the 2000-1817.45, be mindful of its weight and size. For larger or heavier components, consider having an assistant on hand to help support the weight during the removal process, which can help prevent injury or damage.
Once the component is free, carefully lift it out of its position, taking care not to bump or scrape against nearby parts. Place the old component in a designated area for proper disposal or recycling, adhering to any relevant environmental guidelines.
By following these detailed instructions for disconnecting electrical connections, removing mounting hardware, and extracting the old component, you will be well-prepared for the installation of the new 2000-1817.45, which will be addressed in the next section of this guide.
Ensuring Proper Alignment of the 2000-1817.45 Component
Correct positioning and alignment of the 2000-1817.45 component are vital for its optimal performance. Start by carefully placing the new component in its designated location, making sure it fits snugly without forcing or straining any connections. Use the reference points from the old component to help guide your placement.
To achieve accurate alignment, consider important factors such as caster, camber, and toe. Caster refers to the angle of the steering axis when viewed from the side, while camber indicates whether the wheel tilts inward or outward when viewed from the front. Meanwhile, toe describes the direction the wheels point when viewed from above—whether they angle inward or outward.
For precise alignment, employ a tape measure to check the distance between specific points on the component. Measure from a consistent reference point on each side, such as a specific tread pattern, to ensure accuracy. Compare the front and rear measurements to determine if any adjustments are needed.
Securing the 2000-1817.45 Component
After correctly positioning and aligning the 2000-1817.45 component, the next step is to secure it in place. Begin by reattaching any mounting hardware that was removed during the extraction process, which typically involves reinstalling bolts, nuts, or other fasteners that hold the component firmly against its mounting surface.
When tightening the mounting hardware, it is essential to adhere to the manufacturer’s torque specifications. Over-tightening can cause damage to the component or its mounting points, while under-tightening might lead to loosening during operation. To ensure precision, utilize a torque wrench to tighten each fastener to the specified torque setting.
If the 2000-1817.45 is part of a system that requires fine-tuning, such as a front-end alignment, you may need to make further adjustments. This process might involve loosening the jam nuts on tie rods and adjusting the tie rod to correct the toe-in or toe-out. Remember to securely retighten all adjustable components after making any necessary changes.
Proper Alignment of the 2000-1817.45 Component
Achieving correct positioning and alignment of the 2000-1817.45 component is vital for its effective operation. Start by carefully placing the new component in its designated location, ensuring it fits securely without forcing any connections or putting strain on them. Utilize the reference points from the old component’s position to guide you in this process.
To ensure proper alignment, it is important to take into account the caster, camber, and toe of the component. Caster is the angle of the steering axis as viewed from the side, while camber describes the tilt of the wheel—either inward or outward—when viewed from the front. Toe, in contrast, pertains to whether the wheels angle inward or outward when viewed from above.
For precise alignment, employ a tape measure to check the distance between specific points on the component. Measuring from a consistent reference point on each side, such as a particular tread pattern, will enhance accuracy. After taking measurements, compare the distances at the front and rear to determine if any adjustments are needed.
Reconnecting Electrical Systems for the 2000-1817.45 Installation

The final step in the installation of the new 2000-1817.45 component involves reconnecting all associated electrical systems. This phase requires meticulous attention to detail to ensure every connection is secure and properly aligned.
Begin by locating all electrical connections related to the 2000-1817.45. This may include wiring harnesses, connectors, or individual wires. If you took notes or photographs during the disconnection, refer to them now to restore each connection to its designated spot accurately.
Before you start reconnecting, it is crucial to prioritize safety. Make sure to turn off the power at the main electrical service panel before beginning the installation. This step is vital to eliminate the risk of electric shock or accidental damage to the component.
As you proceed to reconnect each electrical component, ensure that the connections are tight and secure. Loose connections can result in intermittent performance or even system failures. Pay particular attention to connectors equipped with locking mechanisms; ensure they snap into place firmly.
After all connections are made, conduct a thorough review of your work. Confirm that each wire is connected to the correct terminal and check for any exposed wires or loose connections. This careful inspection can help prevent future issues.
Once you have secured all electrical connections, you can restore power to the system. Switch on the main power and test the 2000-1817.45 to ensure it operates correctly. Watch for any unusual noises, vibrations, or performance anomalies that may indicate a problem with the installation.
By adhering to these guidelines for proper positioning, secure mounting, and careful reconnection of electrical systems, you will ensure a successful installation of the new 2000-1817.45 component. This diligent approach will significantly enhance the performance and longevity of your system.
Post-Installation Checks for the 2000-1817.45 Component

After successfully installing the new 2000-1817.45 component, it is vital to conduct thorough checks and adjustments to ensure the system operates at its best. This phase includes comprehensive system testing, fine-tuning performance, and acknowledging the importance of the break-in period.
Comprehensive System Testing
Once the 2000-1817.45 is in place, the first step is to perform comprehensive system testing to confirm that everything is functioning as intended. Start by evaluating the basic functionality of the component. Look for any error messages or alerts on the vehicle’s information display. Pay particular attention to notifications related to keyless entry or other integrated features that may have been impacted during installation.
Next, assess all electrical systems and controls tied to the 2000-1817.45. This should encompass checking steering wheel controls, seat heating mechanisms, and cooling systems. If any of these elements fail to perform as expected, additional adjustments or troubleshooting may be necessary.
For vehicles equipped with advanced technologies like the Heads-Up Display (HUD), verify that essential information, such as vehicle speed, is accurately projected onto the windshield. Any misalignment or failure to display this data may point to issues with the integration of the new component.
Performance Fine-Tuning
Following the initial tests, you may need to fine-tune the performance of the 2000-1817.45 for optimal efficiency. This process often involves making adjustments to various settings and parameters to ensure seamless operation within the overall system.
A key aspect of fine-tuning is monitoring the system’s performance over time. Utilizing tools like Windows Performance Monitor can be beneficial for tracking performance metrics related to both hardware and applications, including specific indicators for the 2000-1817.45.
During this fine-tuning phase, pay close attention to memory usage. You might need to adjust the minimum and maximum server memory settings to guarantee the 2000-1817.45 has sufficient resources without hindering overall system performance. For example, in a server with 64 GB of RAM, you could set the maximum server memory to 62 GB, reserving some for the operating system.
Consider tweaking backup compression settings if relevant. While compressing data before backing it up can save storage space, it may lead to increased processor usage during the backup process. Evaluate the trade-offs between storage efficiency and processing time based on your unique requirements.
Understanding the Break-in Period
The break-in period following the installation of the 2000-1817.45 is critical for maximizing its long-term performance and durability. Adhering to specific guidelines during this time can facilitate proper settling of the component.
For the initial 500 to 1,000 miles, avoid high-speed driving or maintaining a constant speed for prolonged periods. Instead, vary the engine speed and load to allow the 2000-1817.45 to adjust effectively.
While older recommendations suggested using special break-in oils, modern components like the 2000-1817.45 typically do not require this practice. Nevertheless, following the manufacturer’s guidelines regarding oil type and change intervals is essential.
Be gentle with any associated clutch systems during the break-in period. Avoid aggressive engagement to prevent excessive heat buildup that could damage a new clutch. Once the component has settled in, normal operation can resume.
Keep in mind that the break-in process encompasses not only the 2000-1817.45 but also its interaction with other components. Stay alert for any unusual noises, vibrations, or performance inconsistencies during this phase, as these may indicate the need for further adjustments.
By diligently following these post-installation checks and adjustments, you can ensure that the newly installed 2000-1817.45 operates optimally and integrates seamlessly with your vehicle’s systems. This careful attention to detail during the initial phase post-installation will greatly enhance the component’s longevity and efficiency.
Also Read: 6178268535
Final Words
The 2000-1817.45 component plays a crucial role in ensuring the optimal performance of various machinery. Over time, wear and tear can impact its efficiency, making regular maintenance and timely replacement essential. This guide provides a detailed process for replacing the 2000-1817.45, from preparation and safety measures to extraction, installation, and post-installation checks. Key steps include disconnecting electrical connections, removing mounting hardware, and ensuring proper alignment. By carefully following these instructions, users can enhance the performance and longevity of their equipment, ensuring the 2000-1817.45 operates at peak efficiency for extended periods.
Curious for additional insights? Visit twinkle crest today.